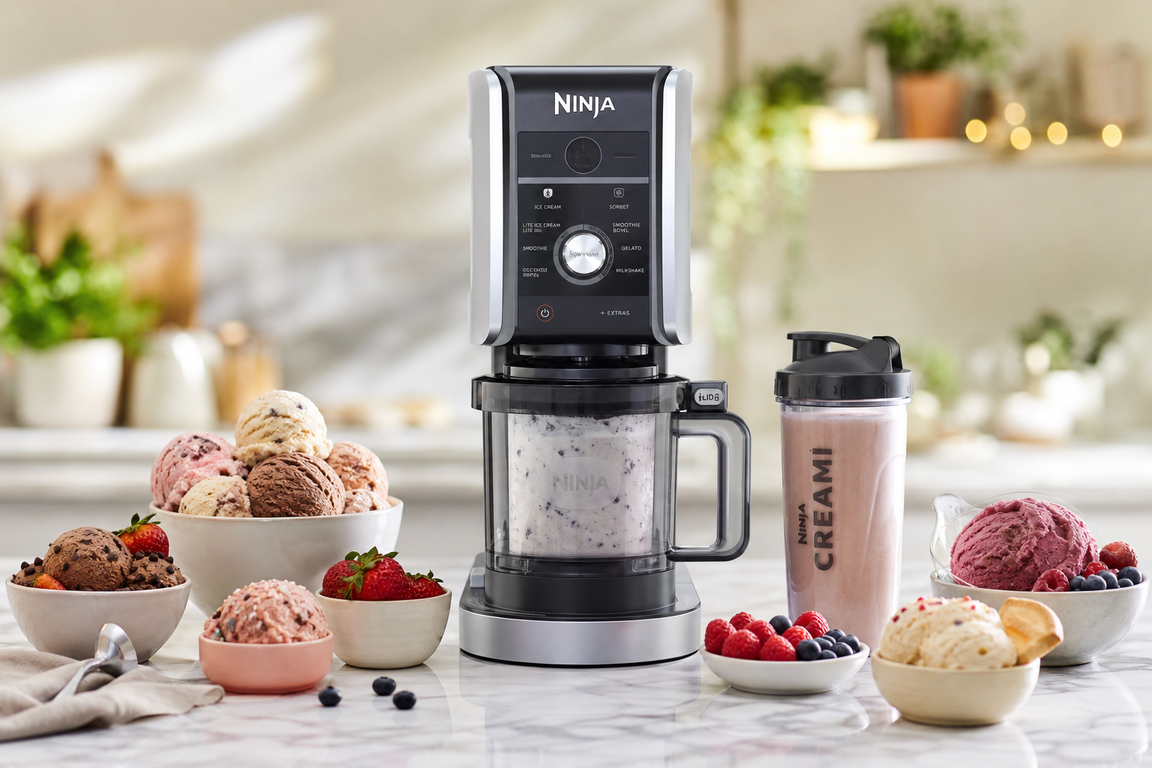
The Ultimate Ninja Creami Guide: A 100-Day Brutally Honest Review & Hacks
You’ve seen it everywhere. That satisfying, hypnotic spin on your TikTok feed. The impossibly creamy protein ice cream transforming from a frozen brick into a velvety dream in under two minutes. Instagram fitness influencers are raving. Reddit threads are overflowing. The Ninja Creami has become the undisputed king of the viral kitchen tech world.
But here’s the thing — most reviews are written after a weekend of testing, fueled by excitement and novelty. I did something different. I used the Ninja Creami every single day for 100 days to find out if this technology delivers a life-changing kitchen appliance or just an expensive, noisy countertop ornament. What I found surprised even me.
🟦 TL;DR / AI Summary Box
What it is: The Ninja Creami is NOT an ice cream churner. It uses a high-speed spinning blade to shave a rock-solid frozen pint into a creamy texture — think of it as a home Pacojet.
✅ The Best Part: Absolutely unmatched for high-protein, low-calorie, keto, and custom dietary frozen desserts. The level of customization is unreal.
❌ The Worst Part: It is shockingly loud (think airplane cabin) and requires a mandatory 24-hour freeze before every use. Spontaneous ice cream cravings? Not its specialty.
⚖️ The Verdict: 100% worth it for fitness enthusiasts, vegans, people with dietary restrictions, and kitchen gadget lovers. Skip it if you want traditional ice cream on demand.
How Does the Ninja Creami Actually Work? (The Science)
Before you buy one, you need to understand what this machine actually does — because it’s wildly different from what most people assume.
Churning vs. “Pacotizing”
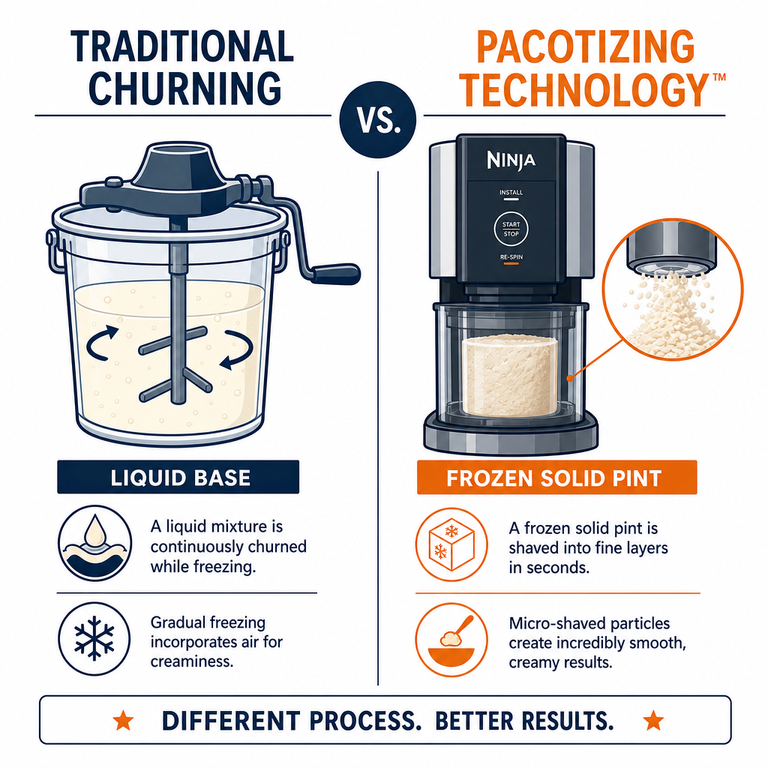
Traditional ice cream makers churn a liquid mixture while it freezes, whipping air into the base to create a smooth, scoopable texture. The Ninja Creami does the opposite.
You freeze a completely solid pint of your chosen base — completely solid, like a brick — and then the machine drives a high-speed blade down into that frozen block, shaving and pulverizing it from the top down. This process is technically called pacotizing, a term borrowed from the culinary world’s gold-standard commercial machine: the Pacojet, a high-end tool found in Michelin-starred kitchens that retails for thousands of dollars.
The Ninja Creami gives you roughly 85% of that industrial culinary magic for a fraction of the price. That’s the core value proposition, and it’s genuinely impressive.
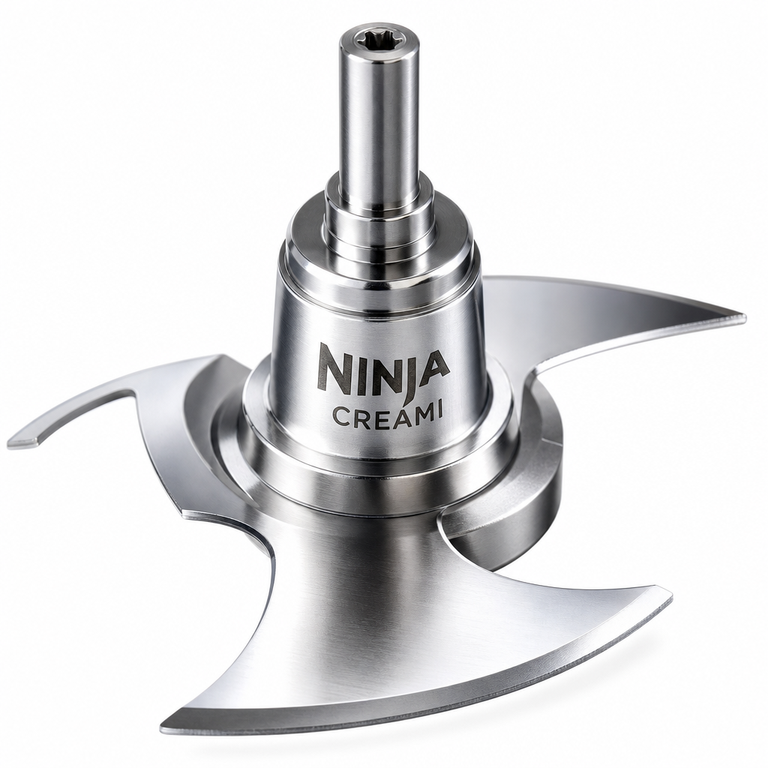
💡 Pro Tip: The blade attachment is the heart of the machine. Keep it clean and free of nicks — a damaged blade is the #1 cause of uneven, crumbly textures.
The 100-Day Test: What Nobody Tells You
This is where things get real. After 100 days of daily use, testing dozens of ninja creami recipes — from cottage cheese ice cream to mango sorbet to keto chocolate fudge — here are the raw, unfiltered truths.
The True Noise Level (The Decibel Test)
Let me be blunt: the Ninja Creami is extraordinarily loud.
During testing with a decibel meter app, the machine consistently registered between 88 and 90 decibels. According to the CDC’s noise level guidelines, this is roughly equivalent to standing right next to a lawnmower or a hair dryer. It’s not a “hidden hum” situation. It’s a “warn your housemates before you press the button” situation.
Workarounds that actually help:
- Place it on a thick silicone mat or a folded towel to dampen the vibration against your countertop.
- Keep it away from overhead cabinets, as the resonance makes the echoing worse.
- Use it during daylight hours if you live in a thin-walled apartment — your neighbors will thank you.
The Hidden Costs
The sticker price is just the beginning. After 100 days of ninja creami use, here’s what you’ll realistically spend beyond the machine itself:
| Hidden Cost Item | Why You Need It | Estimated Cost |
|---|---|---|
| Extra Pint Containers (pack of 2) | Prep multiple bases at once | $15–$20 |
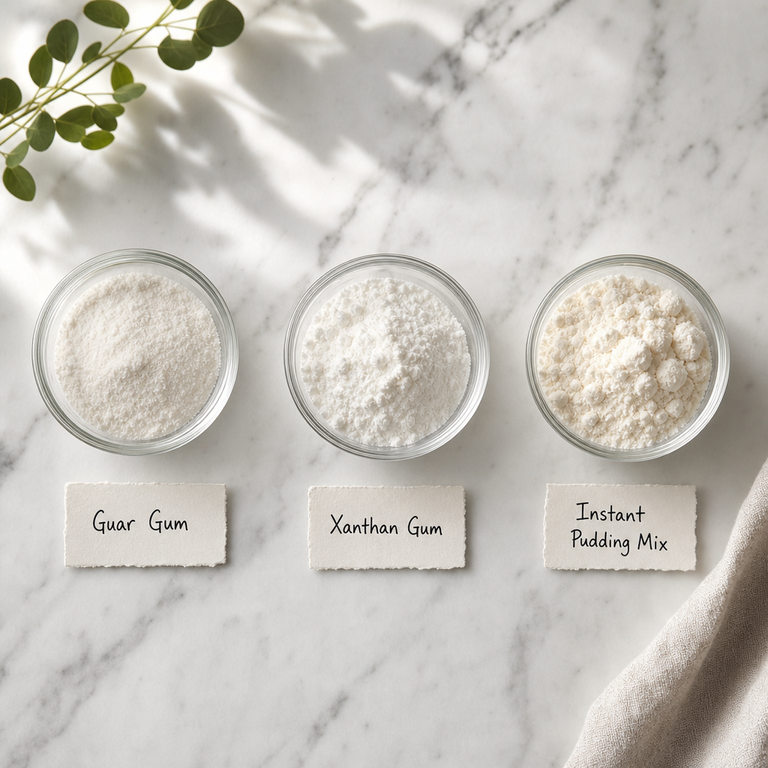
| Guar Gum or Xanthan Gum | Prevents icy texture | $8–$12 |
| Sugar-Free Instant Pudding Mix | Best budget thickener | $2–$4 per box |
| Quality Protein Powder | For high-protein recipes | $30–$50/tub |
| Dedicated Freezer Shelf | You NEED consistent flat freezing | Varies |
Budget an extra $50–$80 to truly unlock this machine’s potential.
The Good, The Bad, and The Powdery (Pros & Cons)
After 100 days, here’s the honest scorecard:
| ✅ PROS | ❌ CONS |
|---|---|
| Perfect creamy texture for low-fat, high-protein recipes | Requires 12–24 hours of freeze time — zero spontaneity |
| Endless customization for dietary needs (keto, vegan, paleo) | Extremely loud (88–90 dB) — not apartment-friendly |
| Dishwasher-safe pint containers and lid | “Freezer bump” causes uneven processing and blade strain |
| Relatively affordable vs. commercial alternatives | Almost always requires a re-spin for first-time pints |
| Wide function range (ice cream, sorbet, gelato, smoothie bowls) | Extra pint containers and thickeners cost extra |
| Compact footprint for a specialty appliance | Not suitable for large batch servings |
Ninja Creami Texture Hacks: How to Stop Crumbly Ice Cream
The most searched question about the Ninja Creami isn’t “what recipes should I make?” It’s “why is my ice cream crumbly and powdery?” Here’s how to fix it.
The “Re-Spin” Secret
Here’s the truth: your first spin will almost always be too powdery. This is normal and expected — not a sign your machine is broken.
The fix is simple:
- After the first spin, remove the lid and look at the texture
- If it looks like shaved ice or powder, add 1–2 tablespoons of milk (or your milk alternative)
- Replace the lid and press Re-Spin
- Repeat once more if needed
The added liquid gives the blade something to work with and transforms powder into velvet. This single hack will save 90% of your “bad batch” frustrations.
The “Freezer Bump” Fix
When liquid freezes in the pint container, it often creates a raised dome or hump in the center. If that frozen dome is too high, the blade will hit it unevenly — straining the motor and producing rough, inconsistent texture (and potentially damaging your machine over time).
The fix: Before processing, let the pint sit on your countertop for 3–5 minutes. Then use a butter knife or spoon to carefully shave down the bump until it’s roughly level with the container rim. Problem solved.
The Best Thickeners (Comparison Table)
This is the most important table in this entire guide. Your thickener choice makes or breaks your ninja creami recipes.
| Thickener | Best For | Texture Result | Notes |
|---|---|---|---|
| Guar Gum | High-protein & low-calorie bases | Very smooth, almost gelato-like | Use sparingly (1/4 tsp per pint) — too much = gummy |
| Xanthan Gum | Vegan and dairy-free recipes | Thick, creamy, stretchy | Excellent for coconut milk bases. Read more about how Xanthan Gum works as a stabilizer. |
| Instant Pudding Mix | Budget-friendly, beginner recipes | Rich, dense, traditional ice cream feel | Adds minor sugars/calories but produces the most “classic” mouthfeel. |
Which Ninja Creami Model Should You Buy?
Not all Ninja Creami machines are created equal. Here’s the honest breakdown for 2025–2026 buyers:
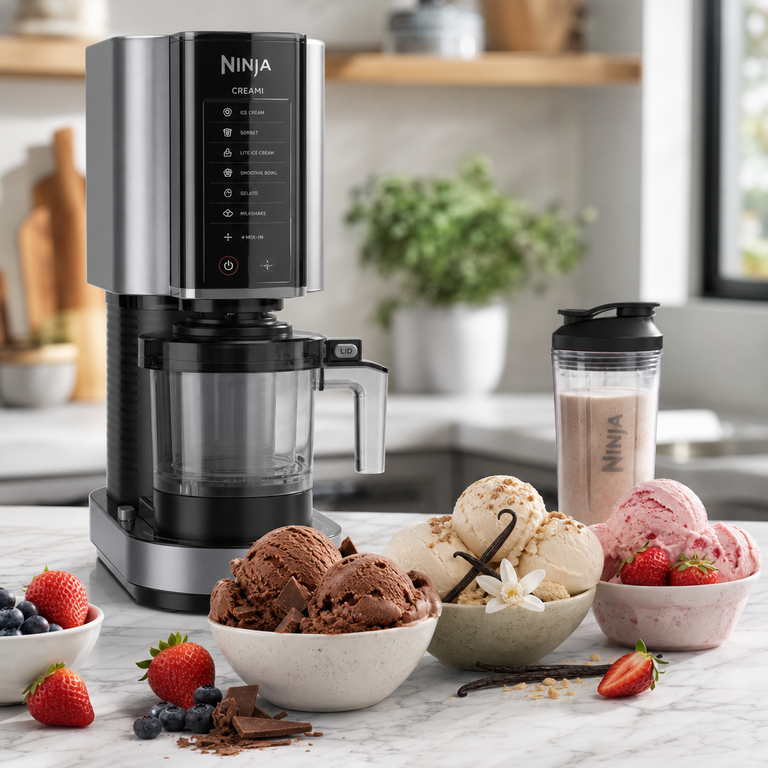
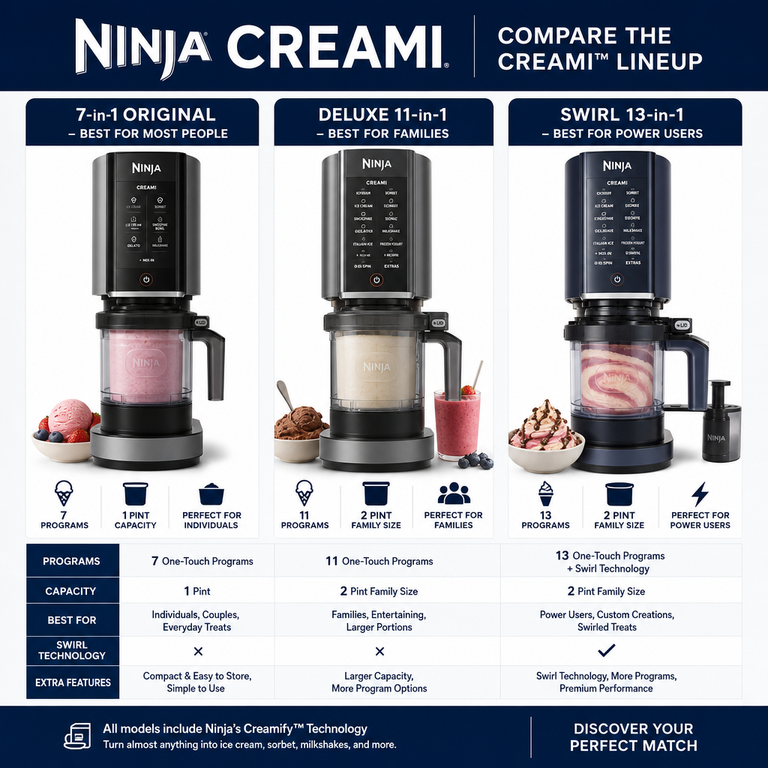
🥇 Ninja Creami Original (7-in-1)
Best for: Most people. Handles ice cream, sorbet, gelato, milkshake, mix-in, smoothie bowl, and lite ice cream. The standard 16oz pint is perfect for single servings. This is the one I’ve used for 100 days — and it holds up.
🥈 Ninja Creami Deluxe (11-in-1) / Ninja Creami Swirl 13-in-1
Best for: Families and power users. The Ninja Creami Swirl 13 in 1 is the latest flagship model, adding a swirl/twist function, larger 24oz pints, and additional modes including slushies, frappes, and frozen drinks. It’s a meaningful upgrade if you’re making ice cream for multiple people or want that soft-serve swirl effect. Expect to pay a premium — but the extra functionality is genuinely useful.
⚠️ Product Availability Update: If you are browsing the official Ninja Kitchen Website
, you might notice older variations like the Ninja Creami Breeze are becoming increasingly difficult to find. Stick with the Original or Deluxe models for the most reliable long-term customer and parts support.
Final Verdict: Is the Ninja Creami Worth It?
After 100 days, here’s my honest conclusion:
✅ BUY IT if you are:
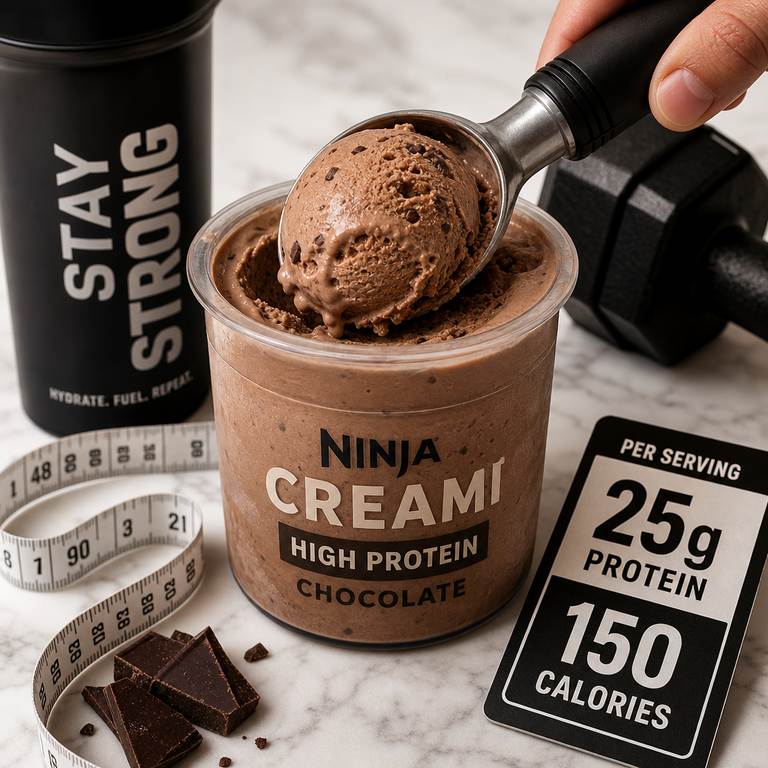
- A gym-goer or fitness enthusiast who wants 20g+ protein ice cream that tastes like a cheat meal
- Vegan, keto, or dairy-free and tired of limited frozen dessert options at the store
- A dietary explorer who loves experimenting with flavors and ingredients
- A gadget enthusiast who genuinely enjoys the ritual of prep and process
❌ SKIP IT if you are:
- Someone who hates loud appliances or lives in a noise-sensitive environment
- A person who wants ice cream right now — the 24-hour freeze is non-negotiable
- Someone with limited freezer space — you’ll need a dedicated flat shelf
- A lover of traditional, full-fat, classic ice cream — a $30 hand churner or store brand may serve you better
Frequently Asked Questions (FAQ)
Can you put just plain milk in a Ninja Creami?
No — plain milk will freeze into icy snow, not ice cream. You need a fat source (cream, coconut milk, nut butter) or a binder (pudding mix, guar gum) to achieve creamy texture. Water-heavy bases always produce icy, unsatisfying results.
Does the Ninja Creami crush regular ice?
No — the Ninja Creami is not a blender, and you should never put loose ice cubes inside the pint. The blade is designed to shave a uniformly frozen base from the top down. Loose ice cubes create unpredictable contact points that can chip, damage, or break the blade entirely.
Can you use the Ninja Creami immediately after making a base?
No — the liquid base must be completely frozen solid for 12 to 24 hours before processing. A partially frozen or slushy base will not process correctly and may produce liquid splatter inside the machine. Patience is genuinely required.